
Shell
Now that the shell was completed it was time to get a roof on and waterproof the house as soon as possible. It survived a week or so with a large tarp on top at night, and I was lucky enough to have only a light sprinkle.

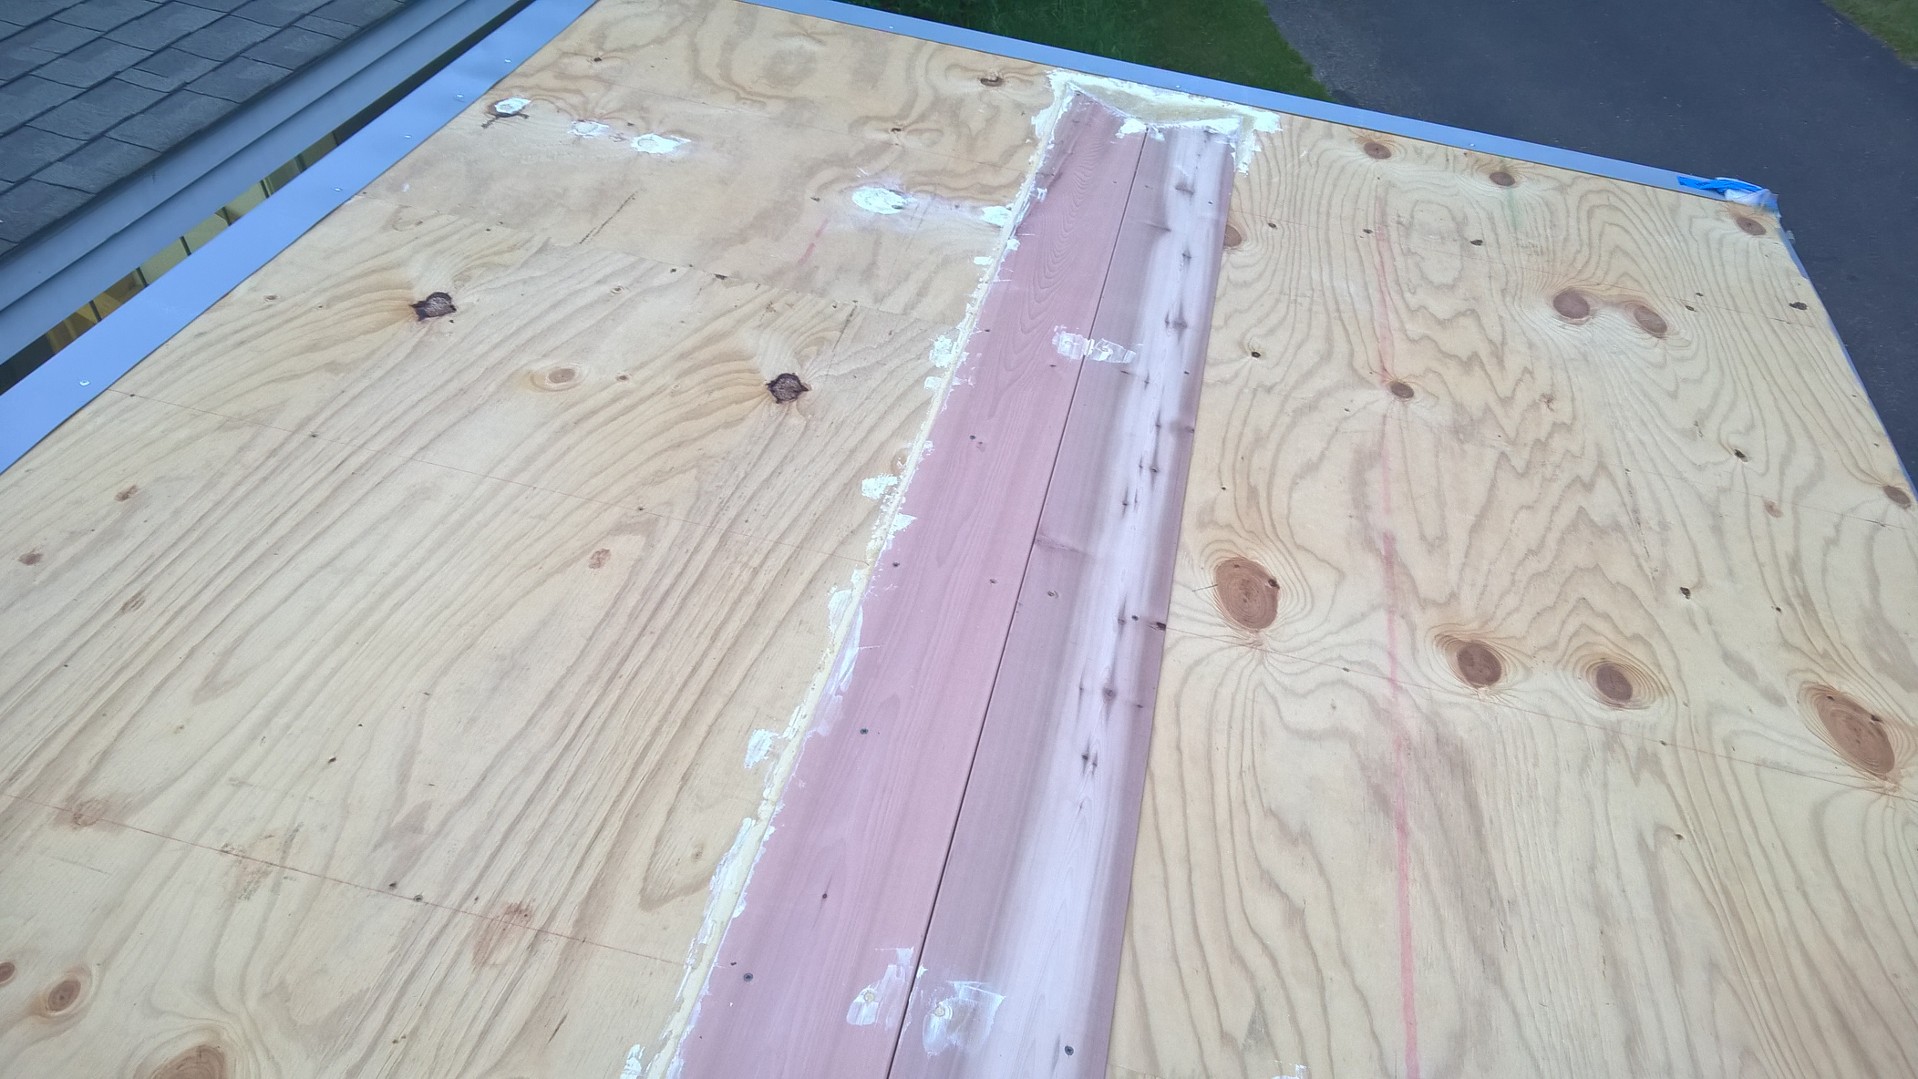
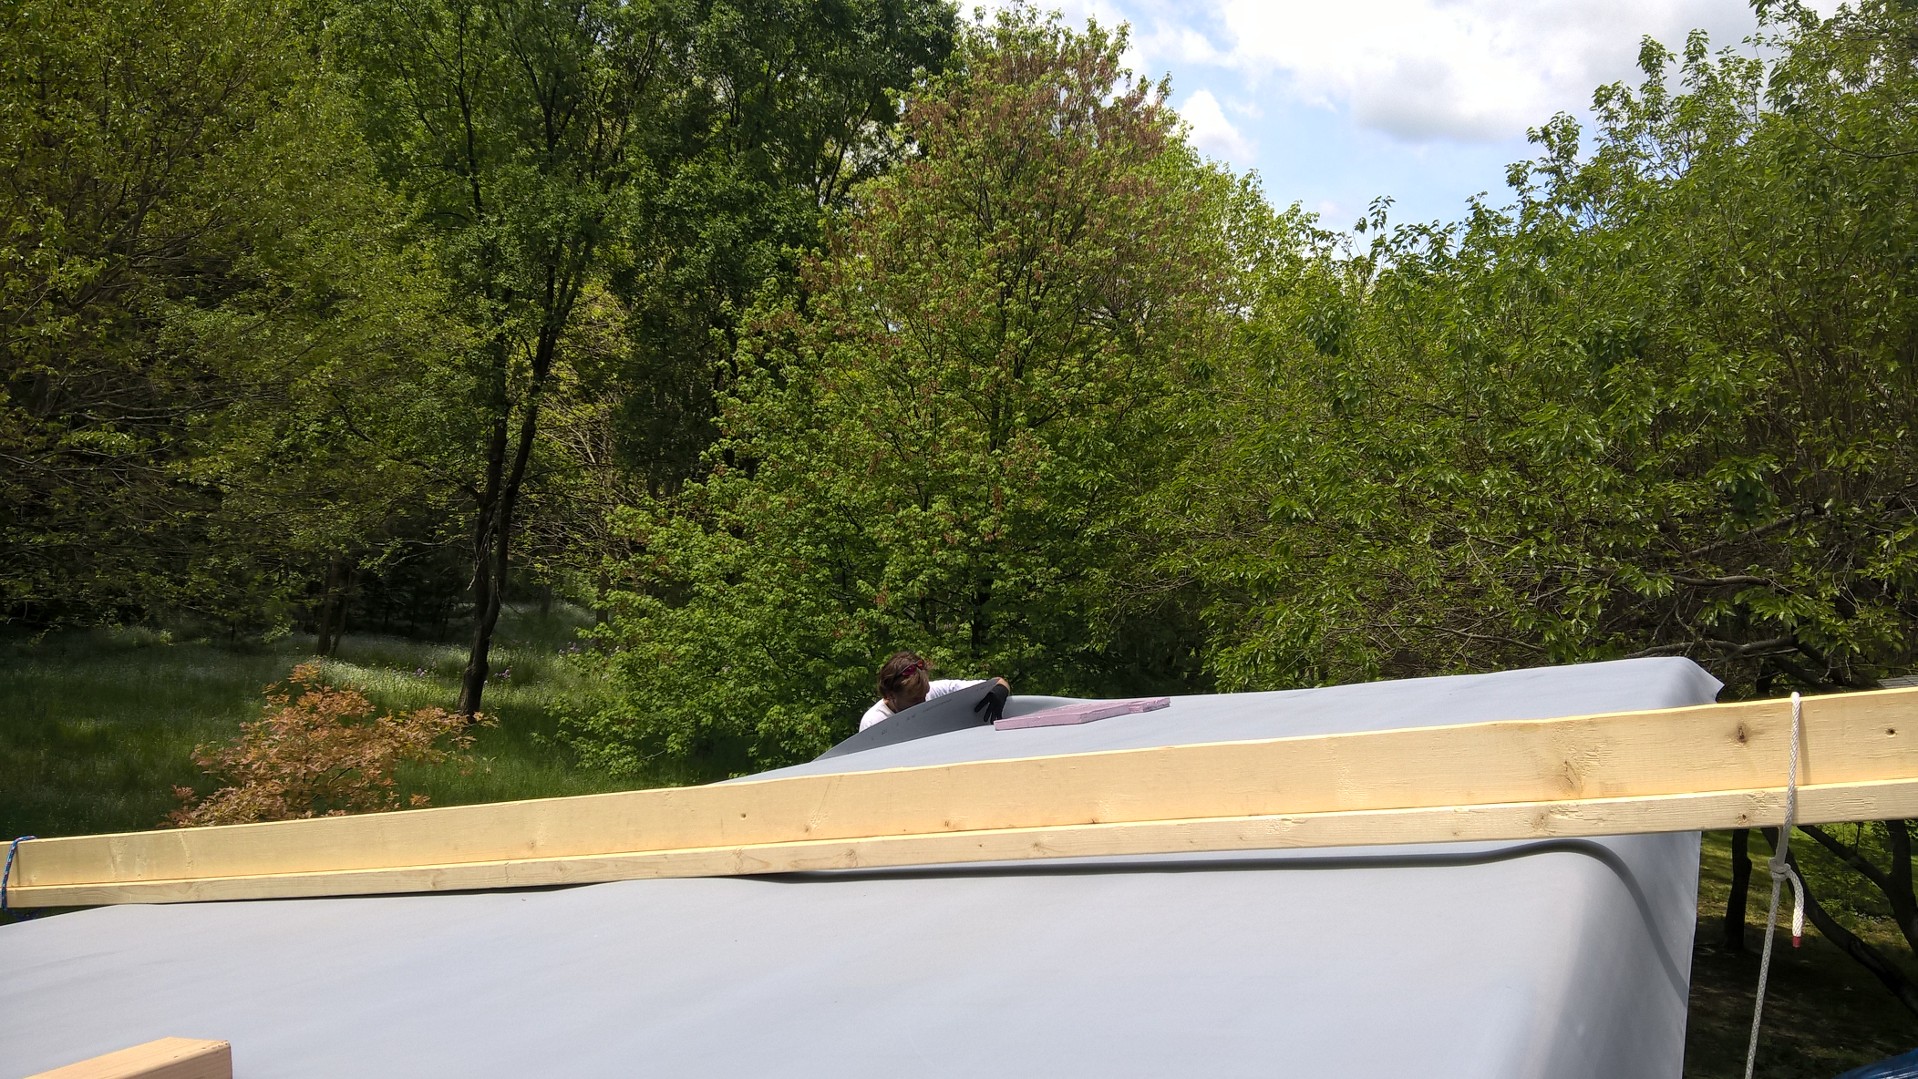
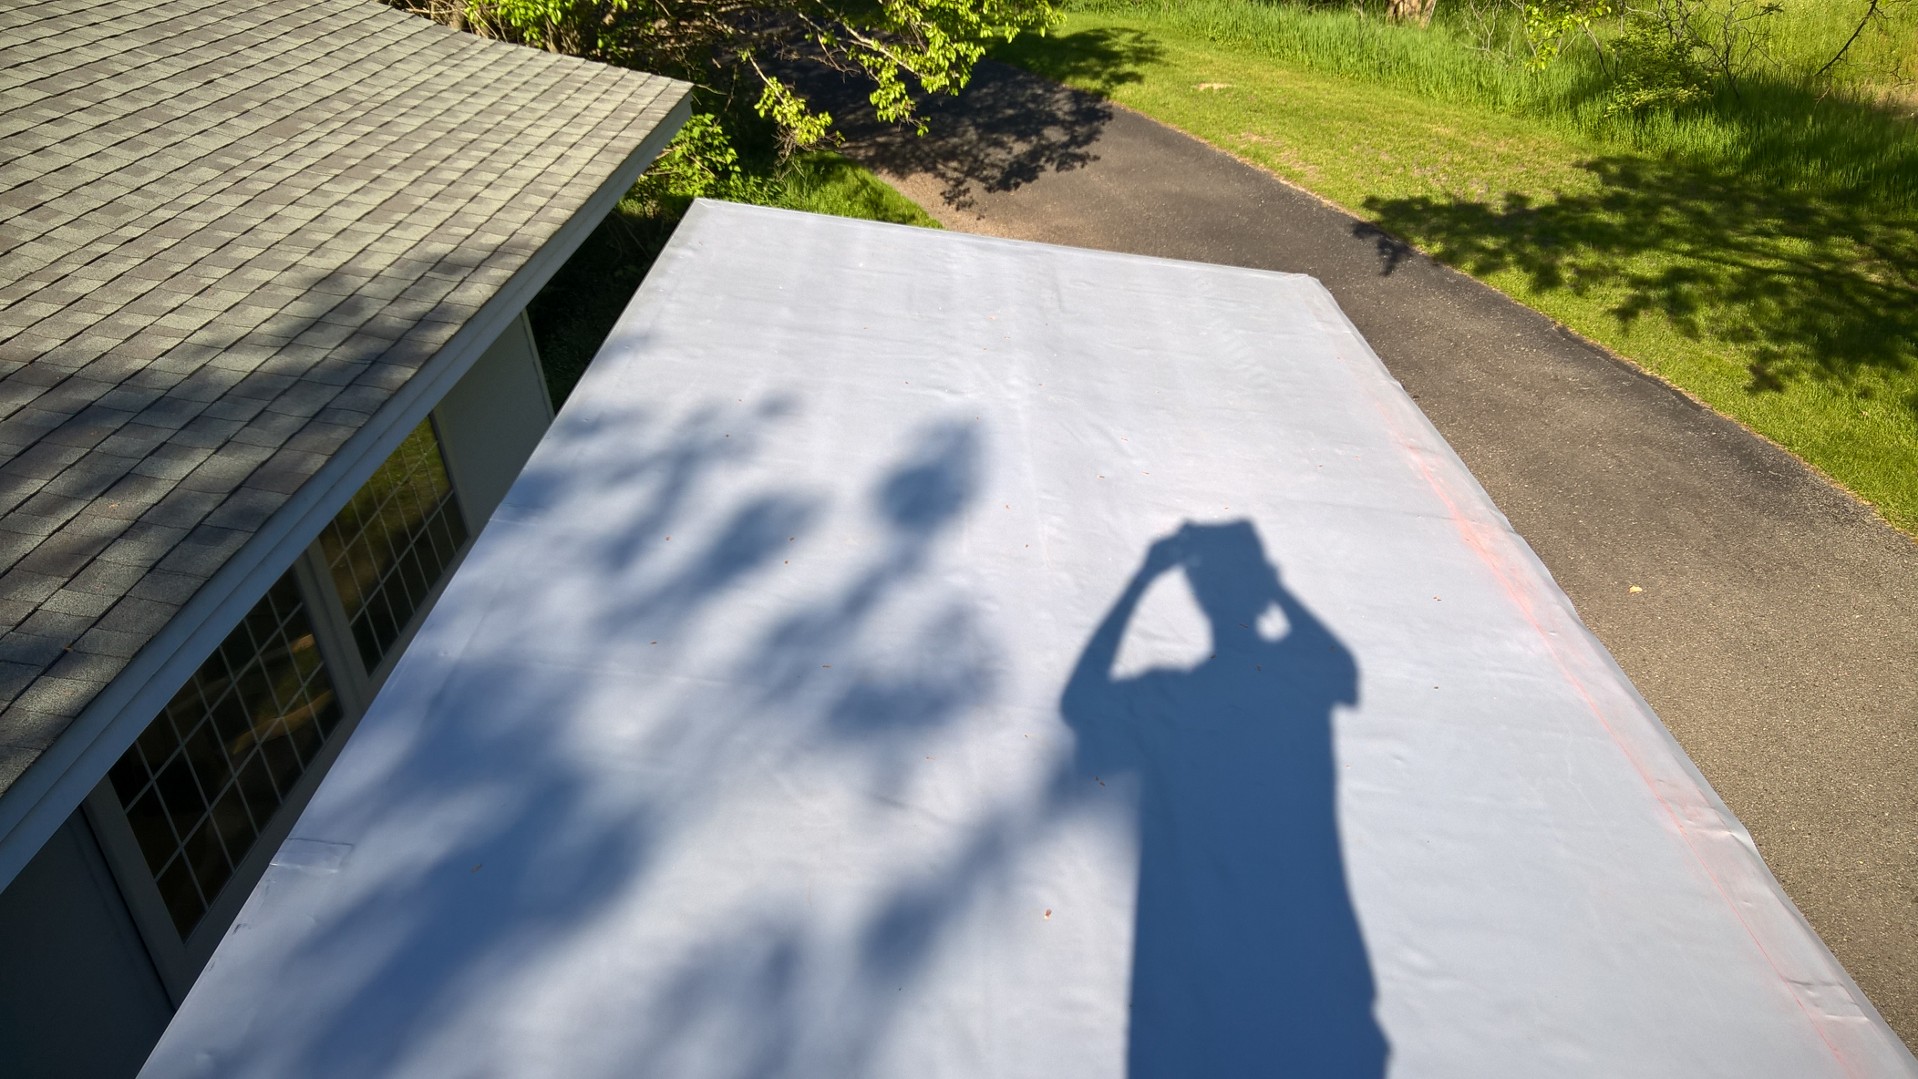
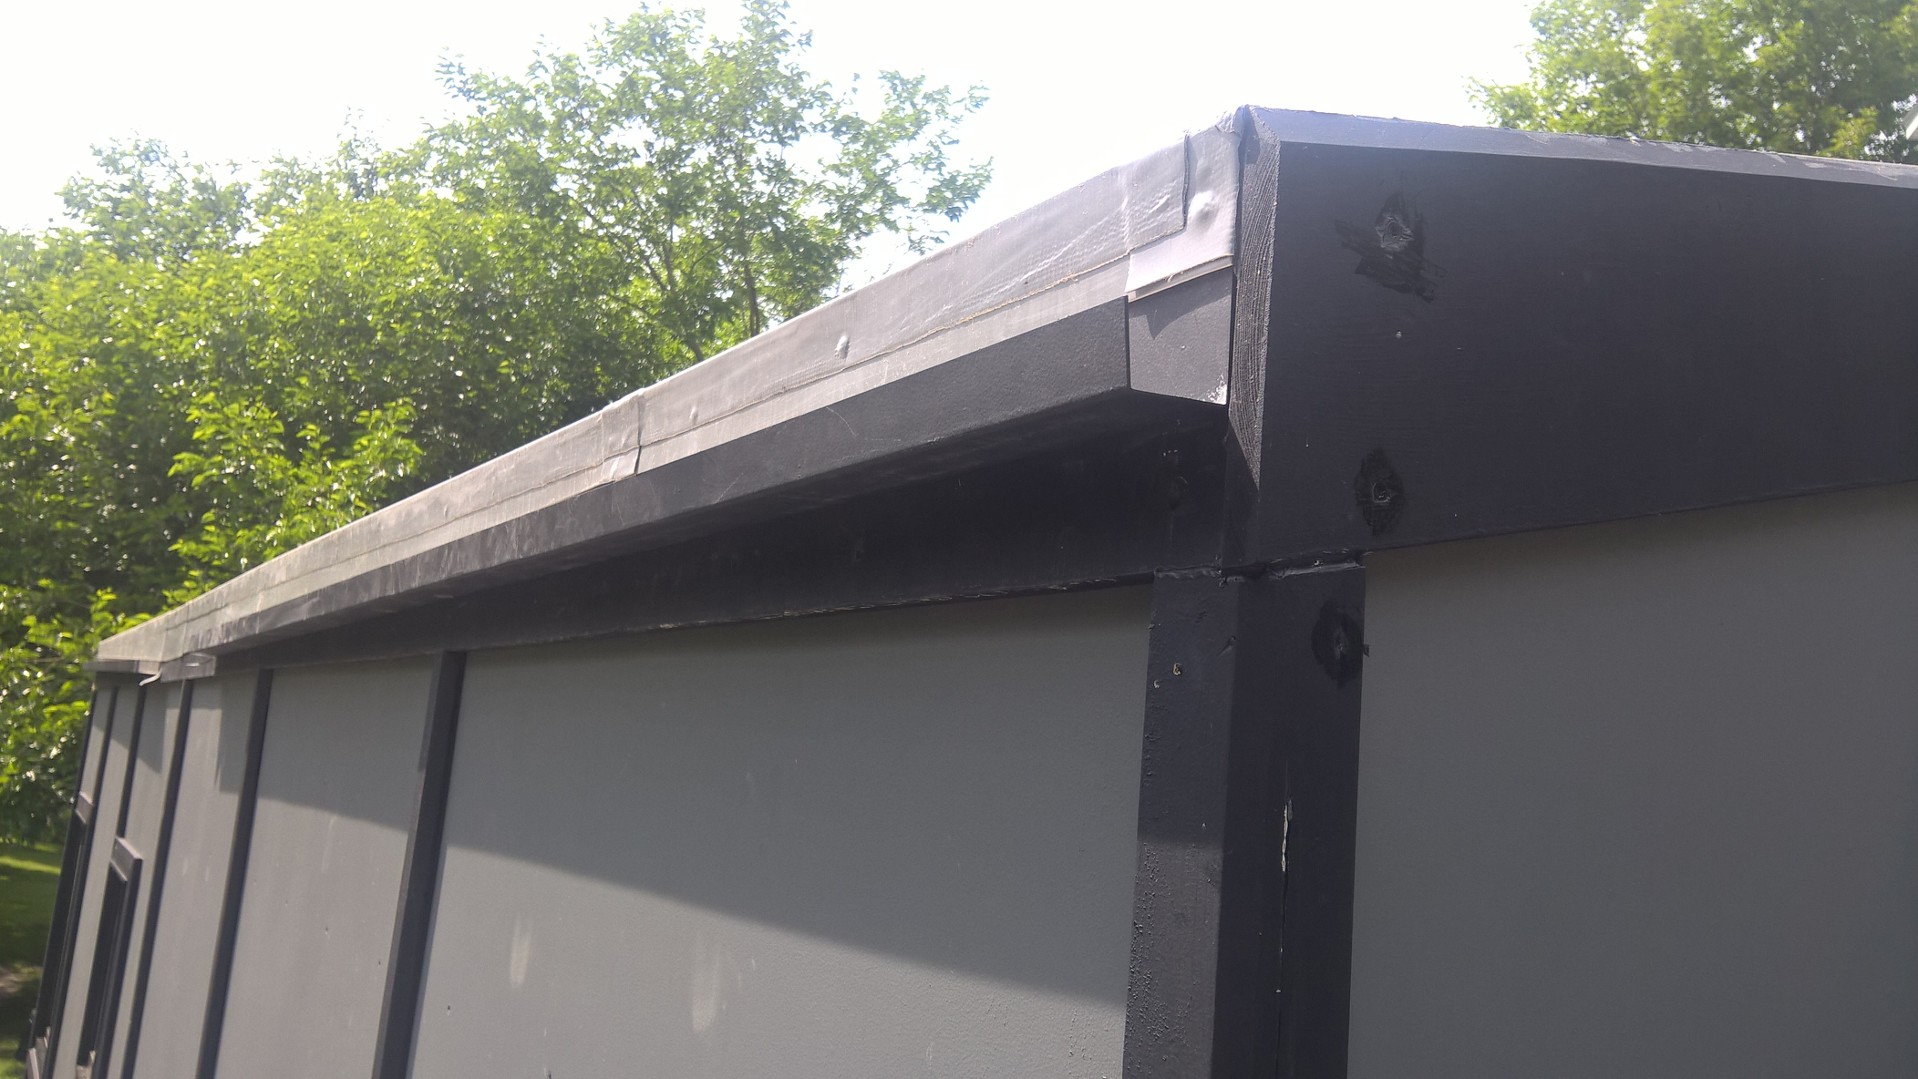
With only one 4 X 10 sheet of TPO coated sheet metal I was very careful to plan every cut and break of the sheet. I was able to use the entire width and only have one extra piece to use for test heat welding the TPO onto it. I picked up the edging from the sheet metal shop and slapped them up on the entire perimeter of the house. Using a specialized heat gun I rented to secure small strips of TPO around the corners. Next up the TPO membrane was glued to the roof sheathing and the perimiter heat welded onto the previously installed metal edging. I also had some custom gutters made to fit within the width restrictions of 8'6" wide, and used a small U channel as a downspout. One of my favorite subtle additions so far is the roof ledge. I knew that I wanted to use the roof as a patio/hangout area and noticed it was a bit too steep to site super comfortably and set a things down. I saw a scrap of cedar siding and had the idea to make a triangle down the center of the roof to create a flat spot to sit and set things down. I cut the end in a swallow tail shape and used wood filler to flatten the surface out before it reached the metal edging, and allowed the membrane to lie flat. Another use of the ledge was to cover up the seams caused by the small ply strip down the center caused by using 2 4'X8' sheets on the roof that was ~8'4" wide
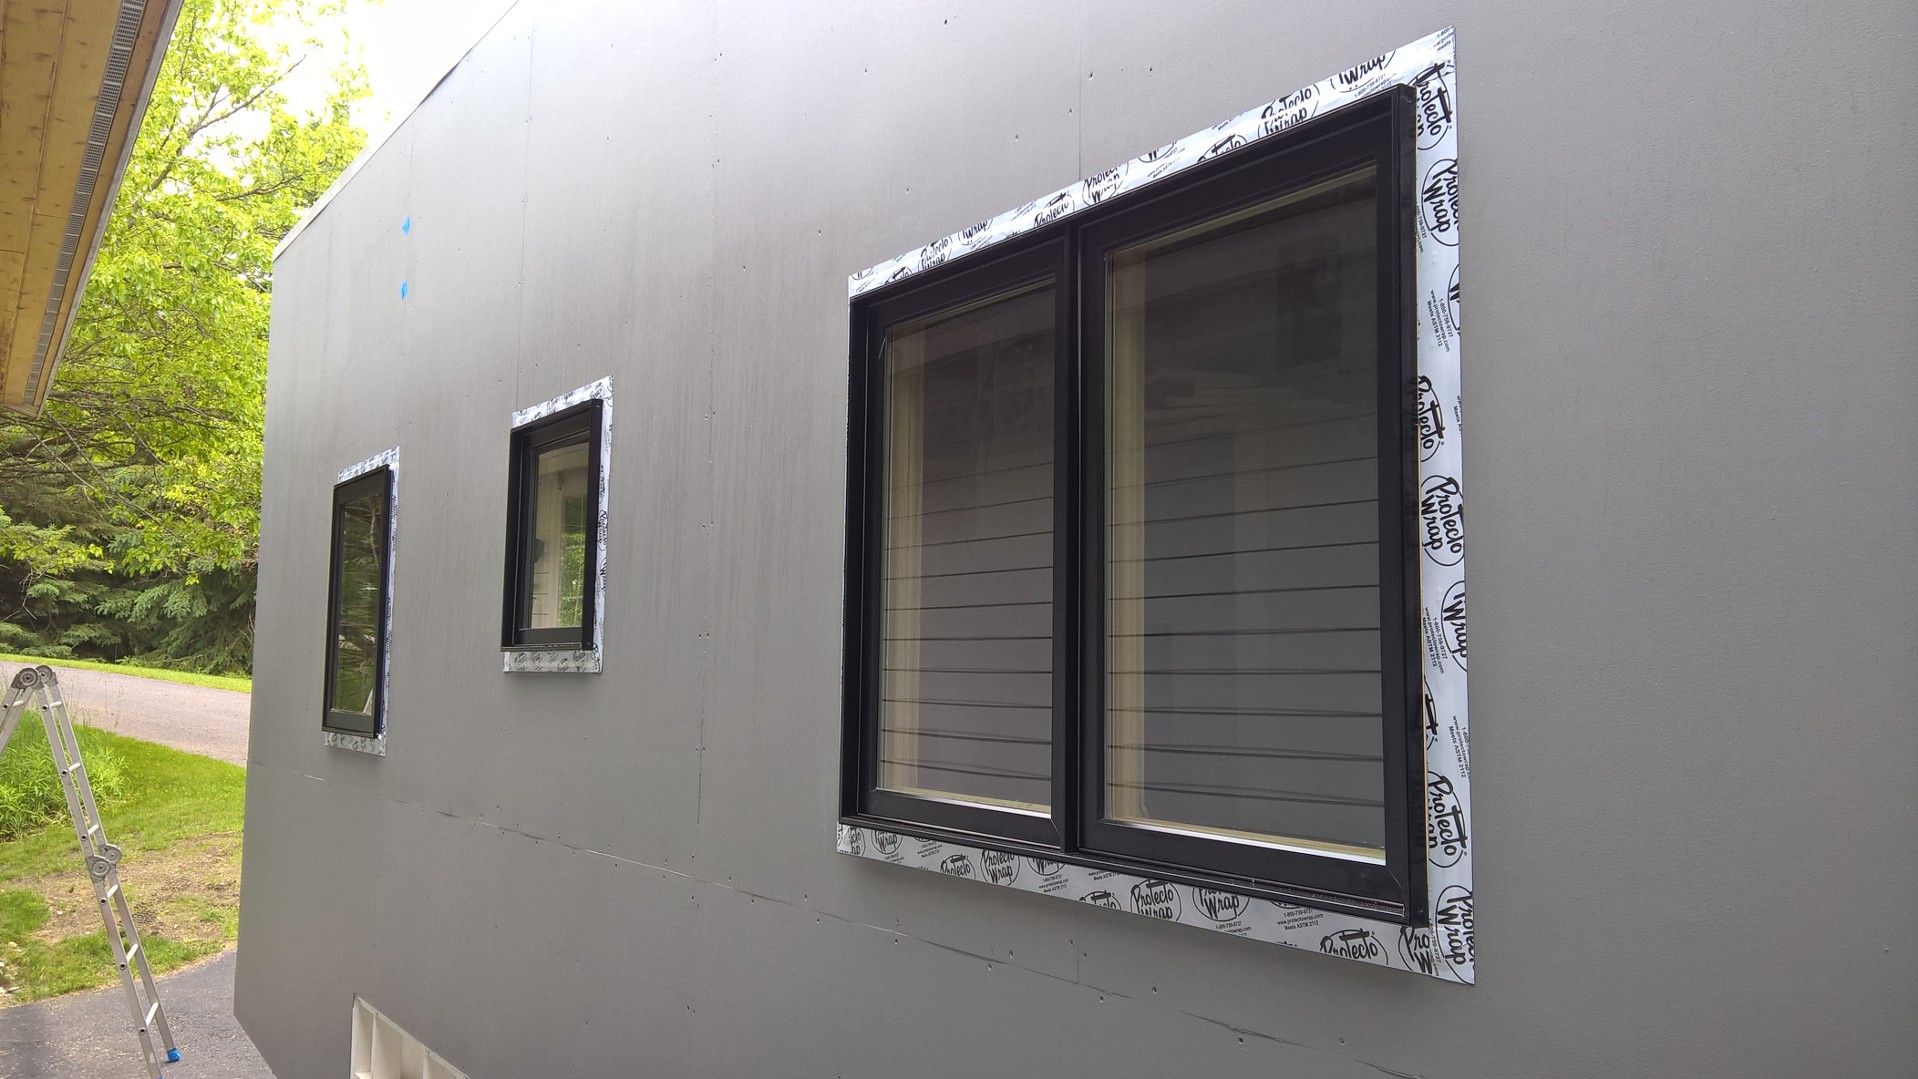
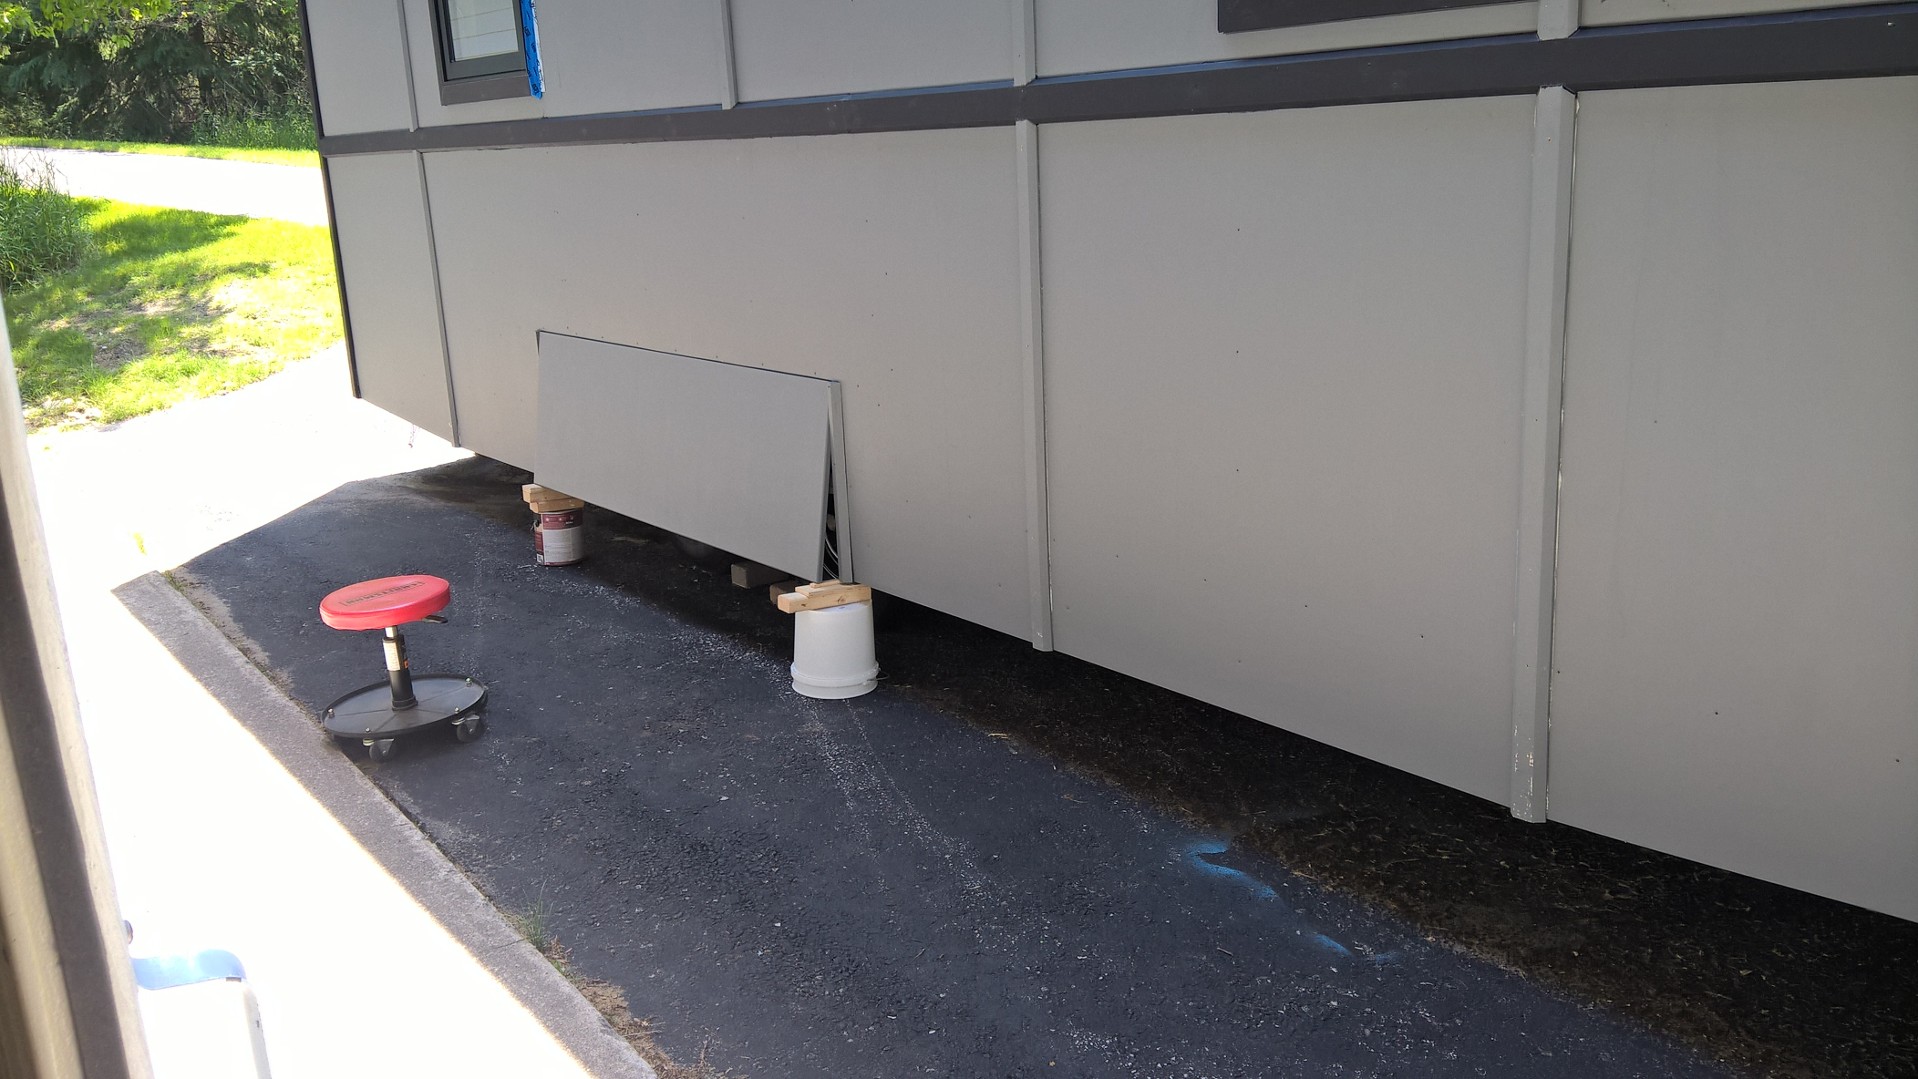
After the roof and edging I attached the black fascia boards to the top perimeter of the roof and caulked the seams to ensure proper water sealing and drainage. Then I was ready for a a project I had been waiting for for a few months now. Windows! I began to cut out the windows on one side at a time, carefully leveling each side to ensure the windows were properly aligned. Much to my surprise the windows only took 15 minutes a piece to install. With a bit more time for waterproofing the exteriors and spraying some great stuff around the interior gaps. I already like the windows but I LOVED them once they were in the house.

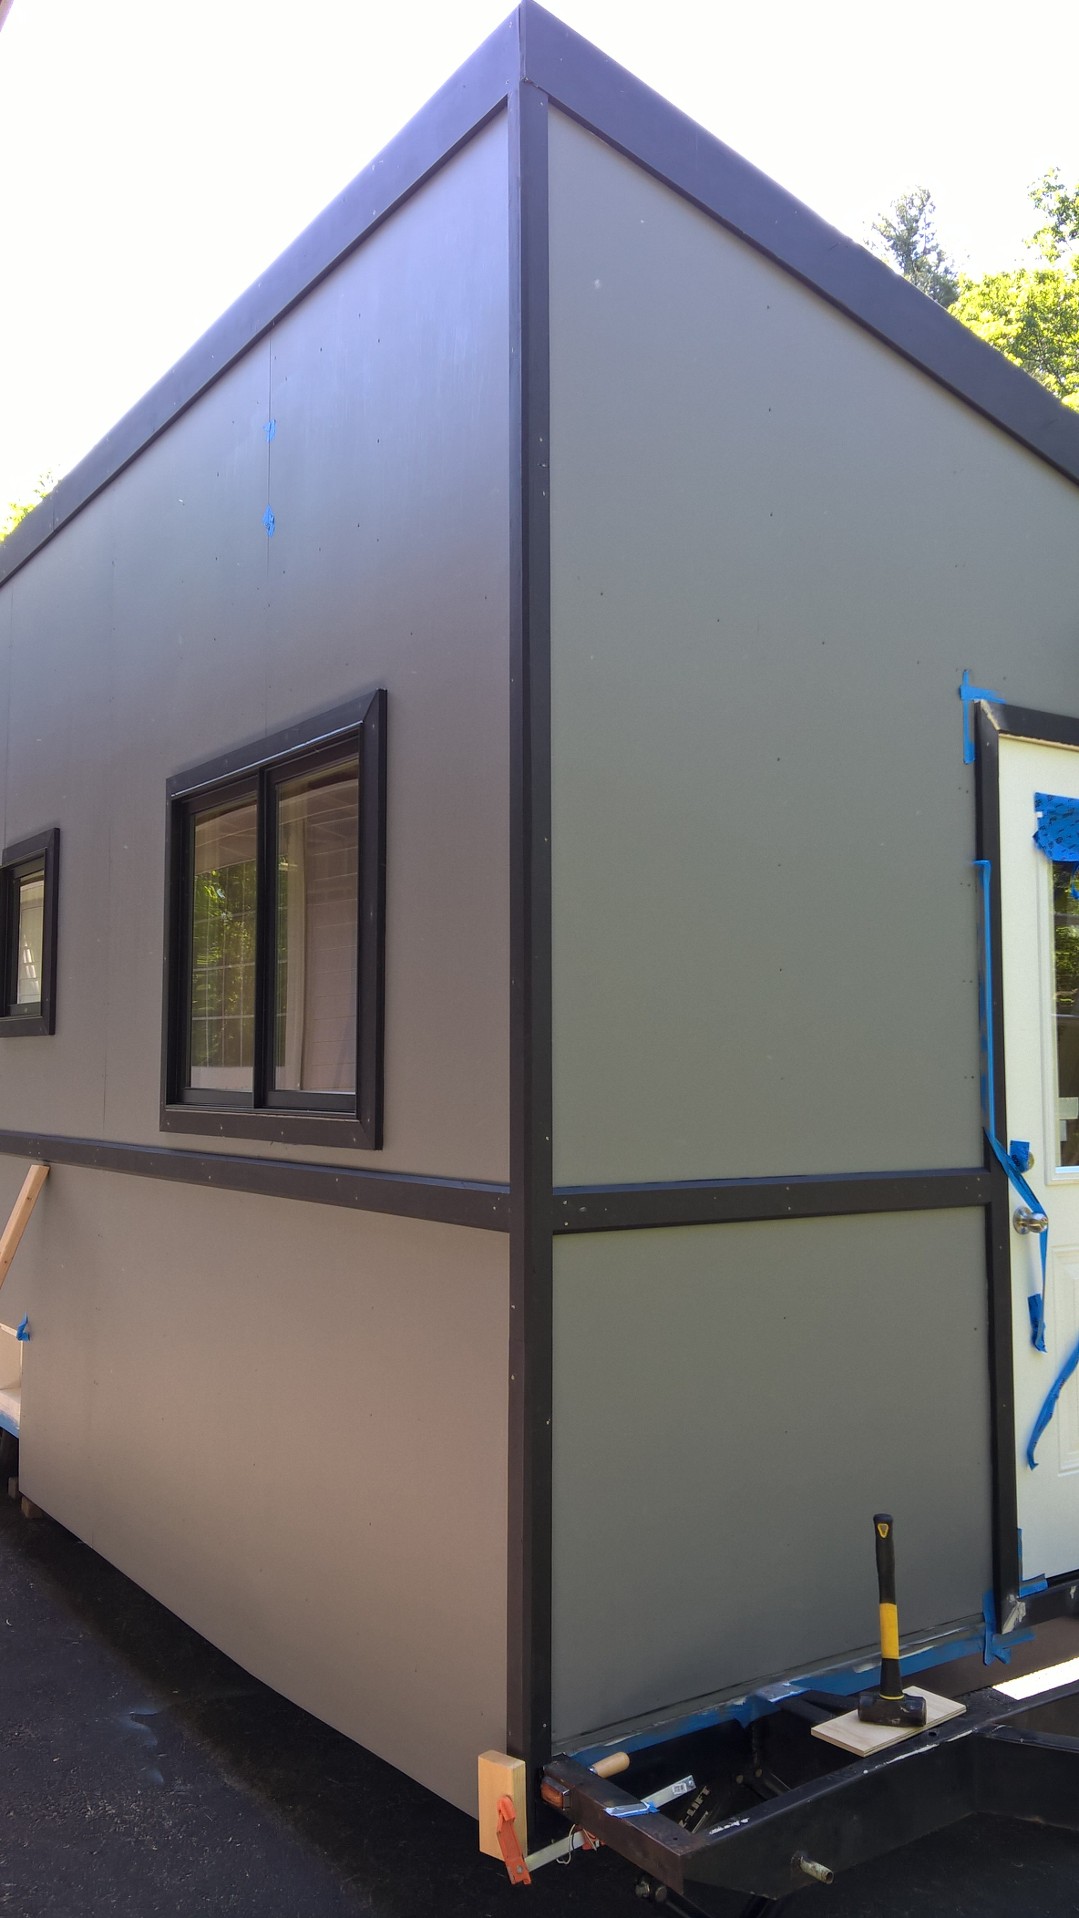
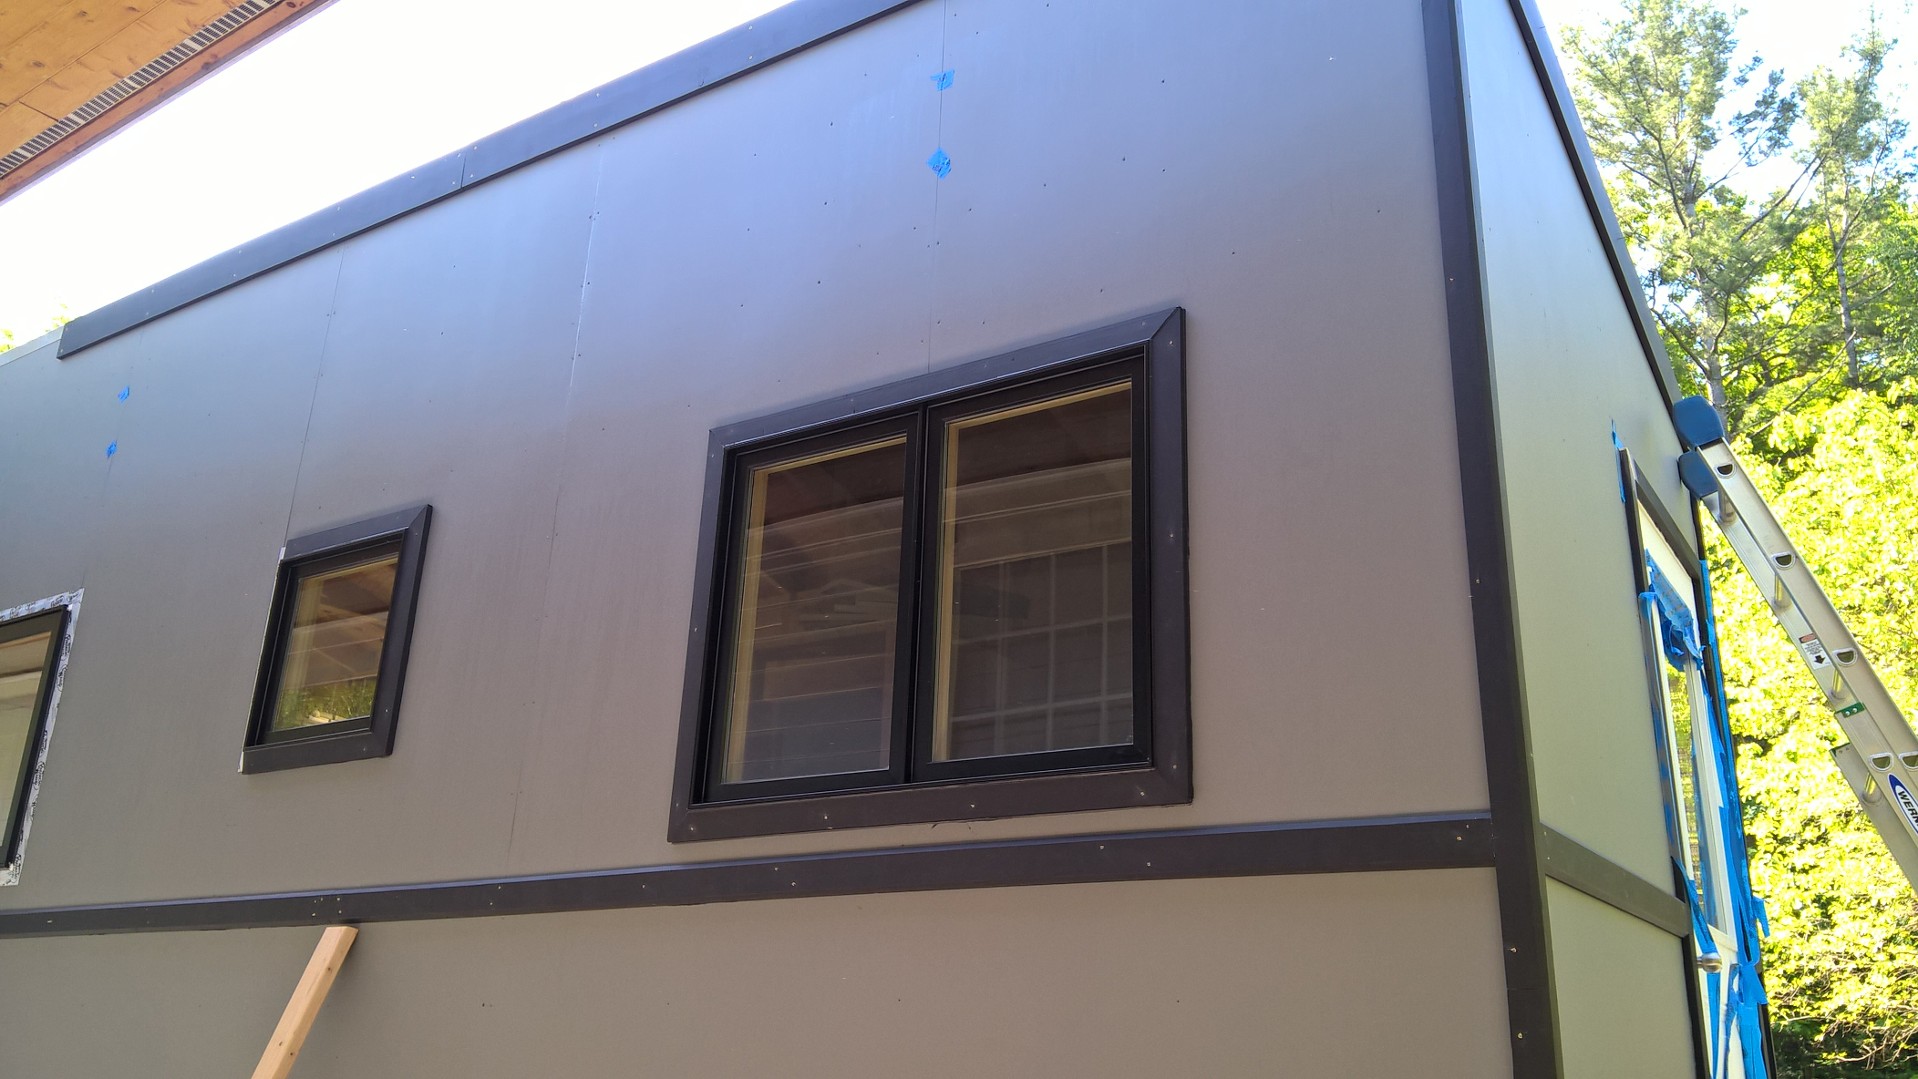
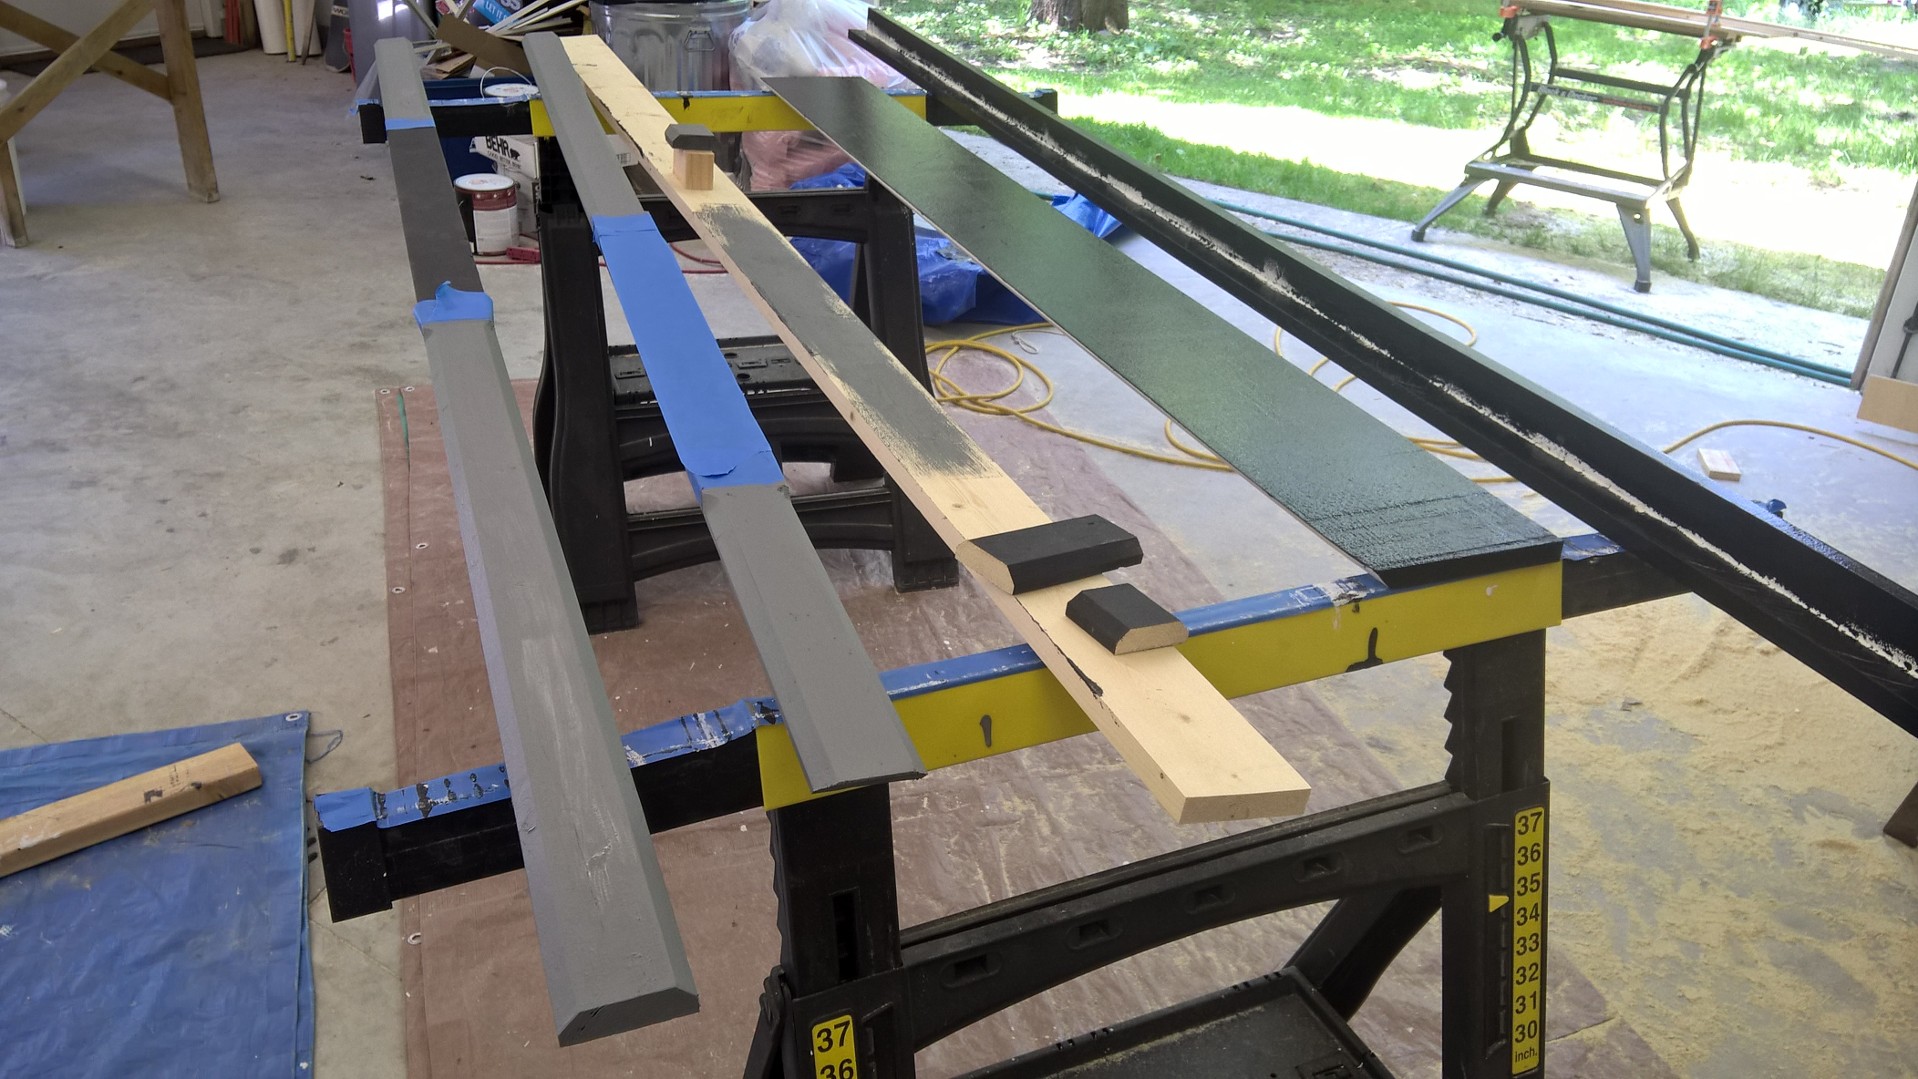
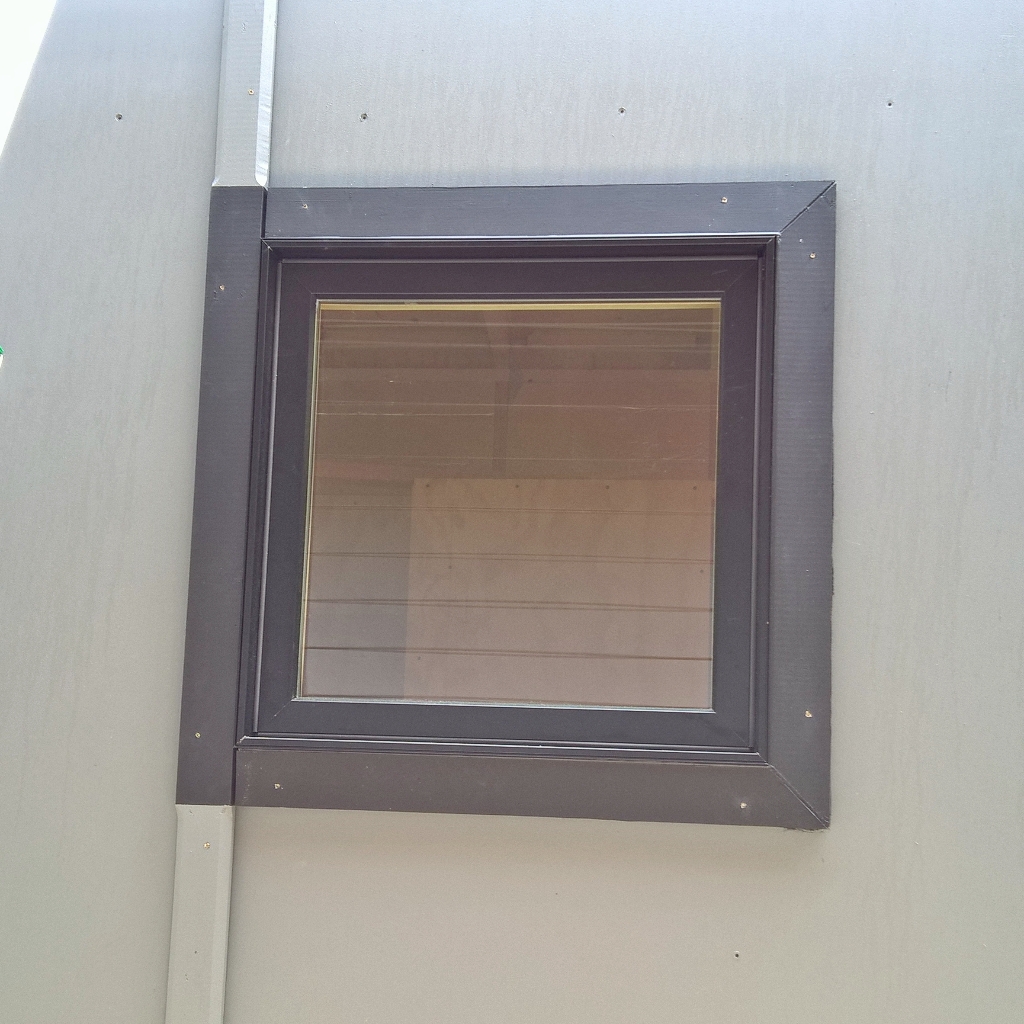
At this point I was close to waterproof, with one project in the way. Usually trim is not a huge deal on houses, but as you may have learned by now I just had to be a little different on this one by making custom trim. First to follow the theme of the fascia I gave the house a belt and black corner trim. At the 4' seam I ripped the corners off of 1"X4"s to make a black exterior chair rail of sorts. For the corners I ripped corners off of a 1"X2" and 1"X3" and attached them to make them even on each side of the corner. after the black belt and corners were on I ripped the edges of of 1'X3's to make trapezoid shaped vertical trim to attach every 4' all the way around the house. These were to cover the upper vertical seams and continue below for continuity. I also started to cut 1"X3"s for the window trim, leaving the edges on these trim pieces square to accentuate the black windows. This process was painstakingly slow because I hand sanded each trim piece and applied a primer and two coats of paint to each before attaching them to the house.
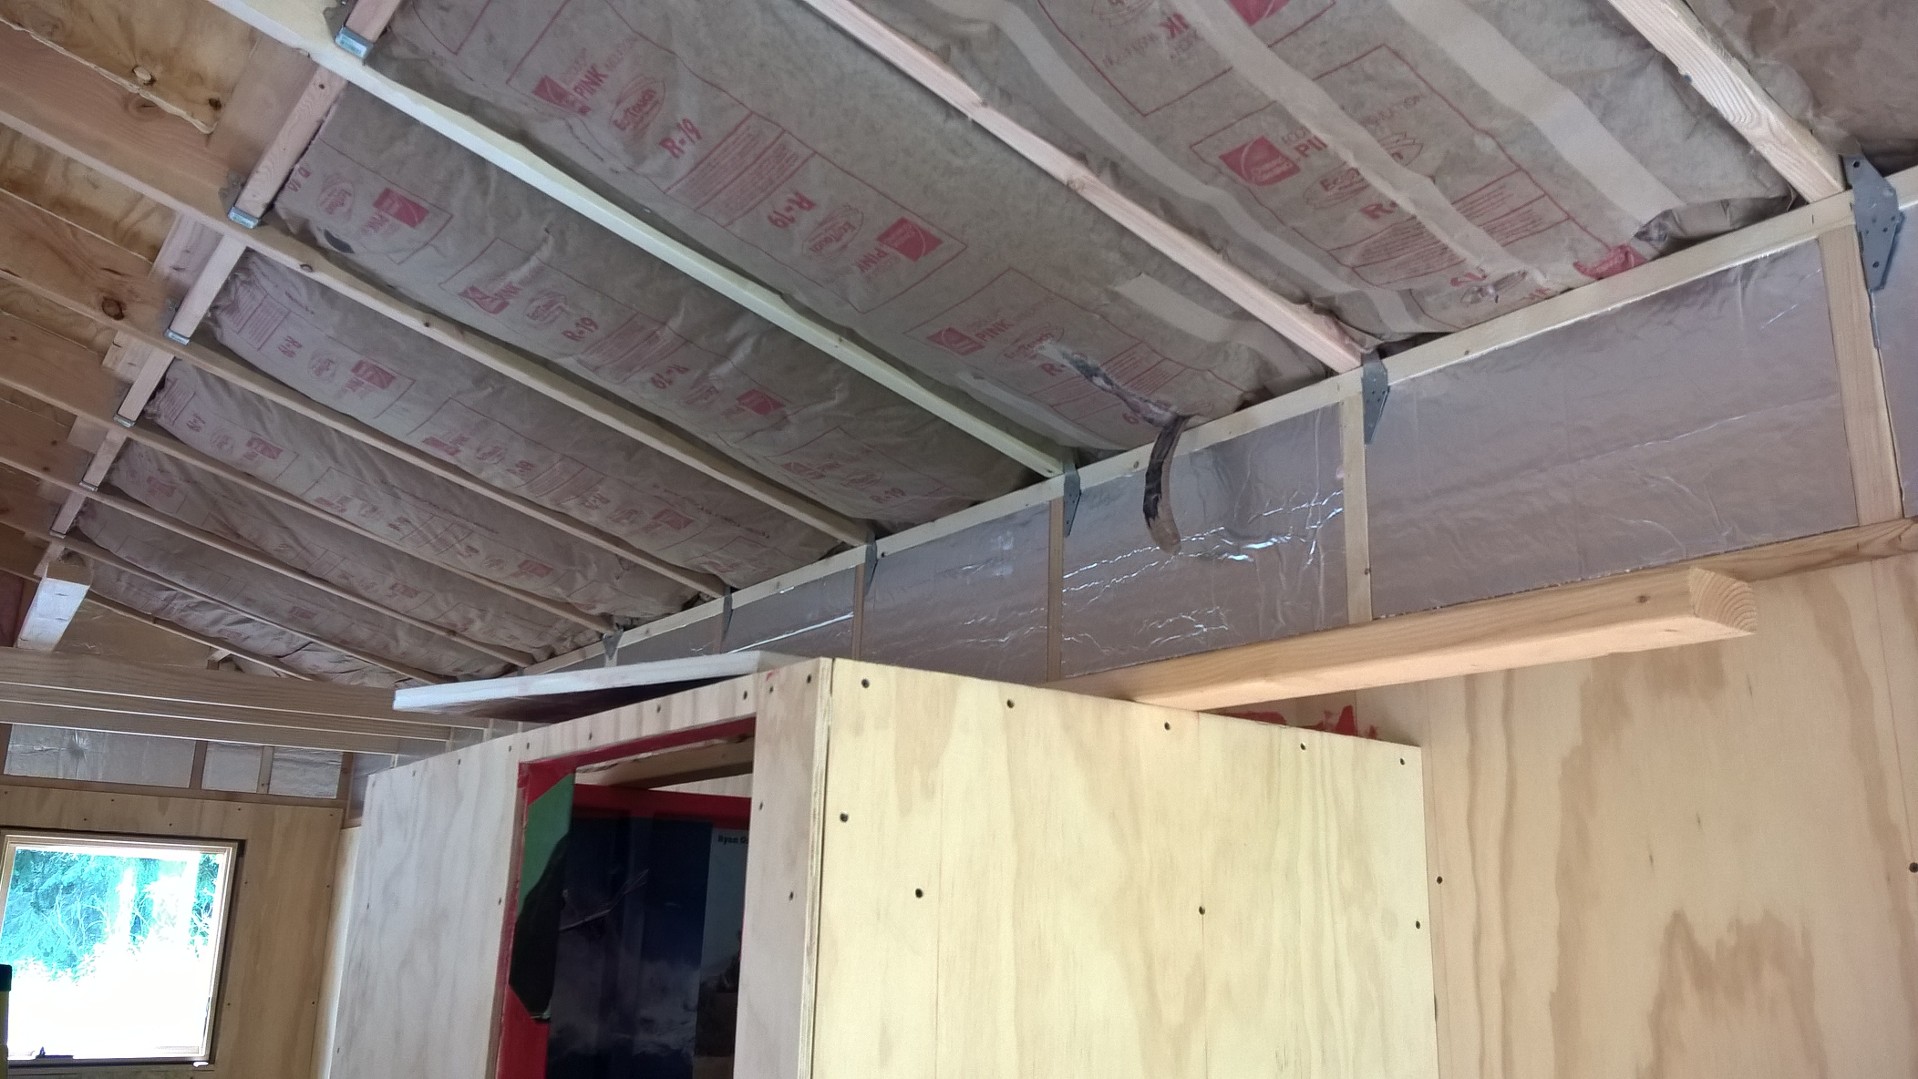
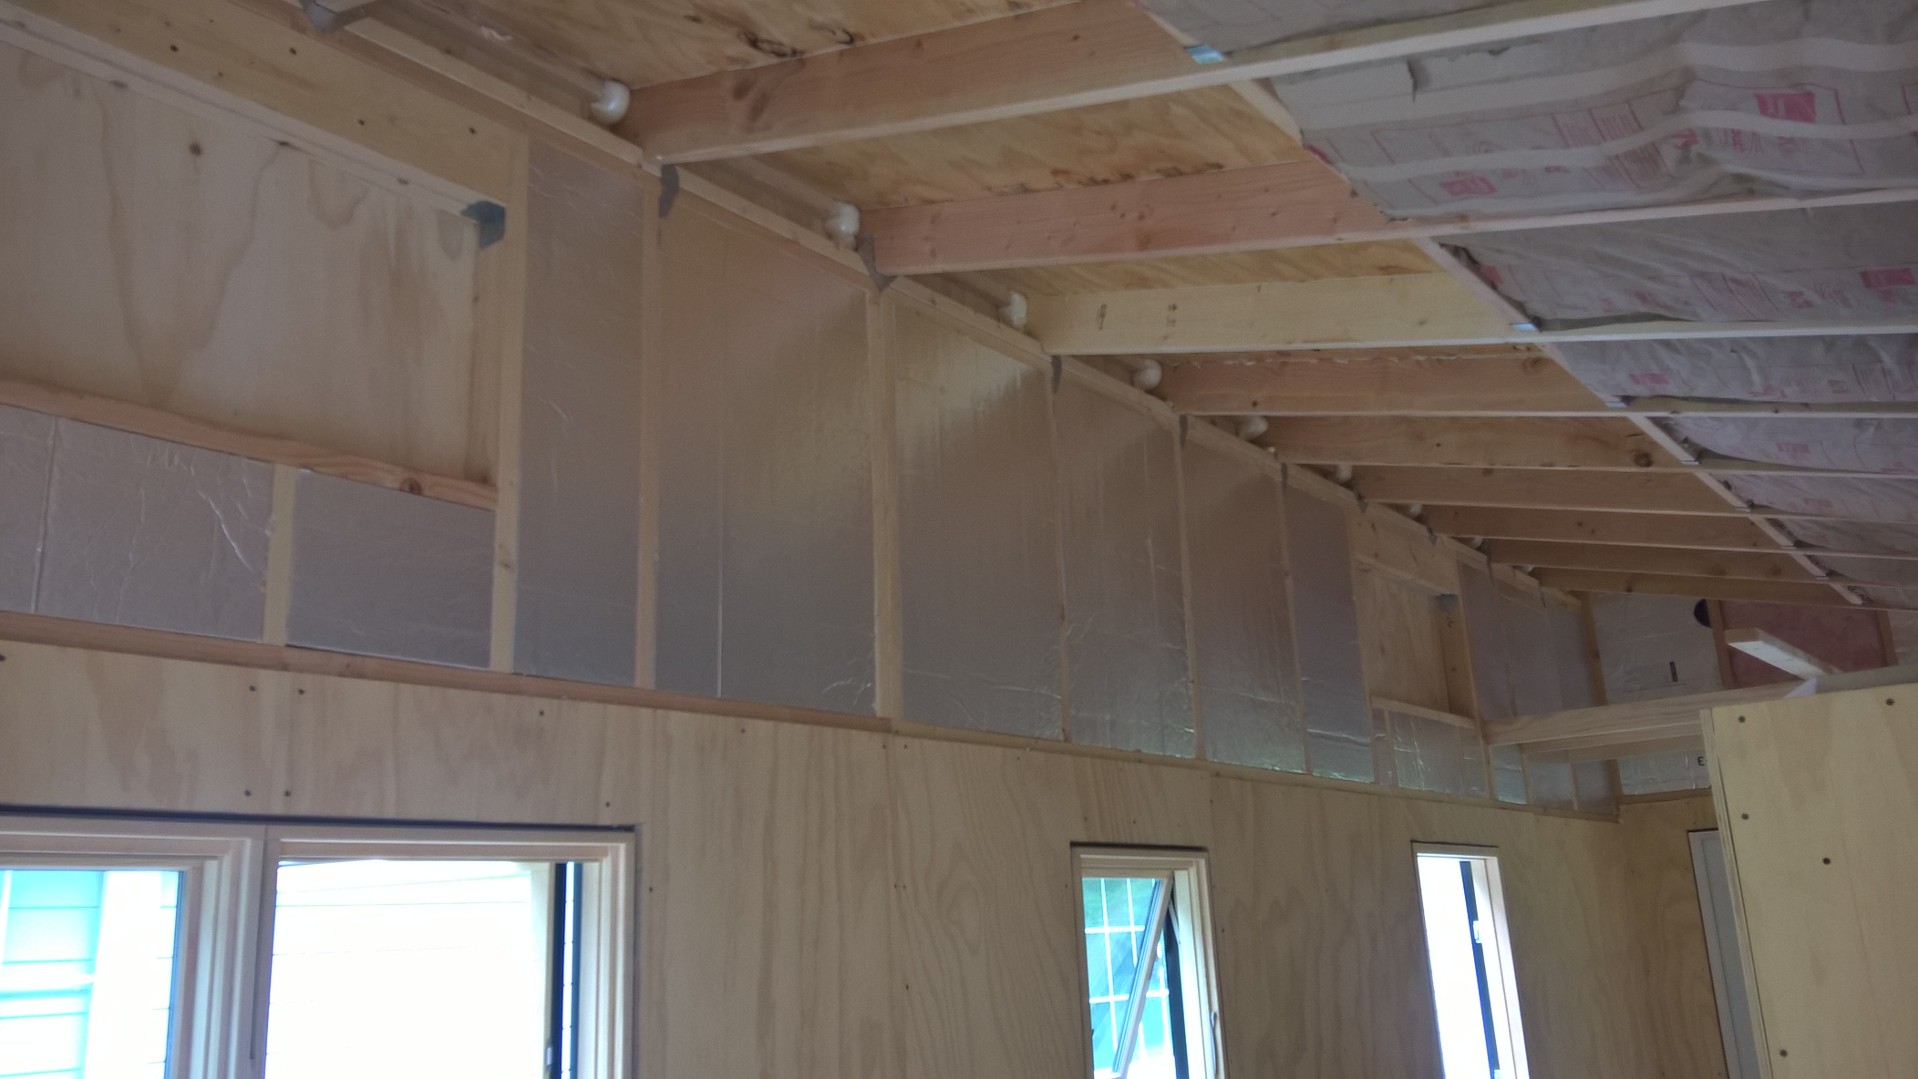
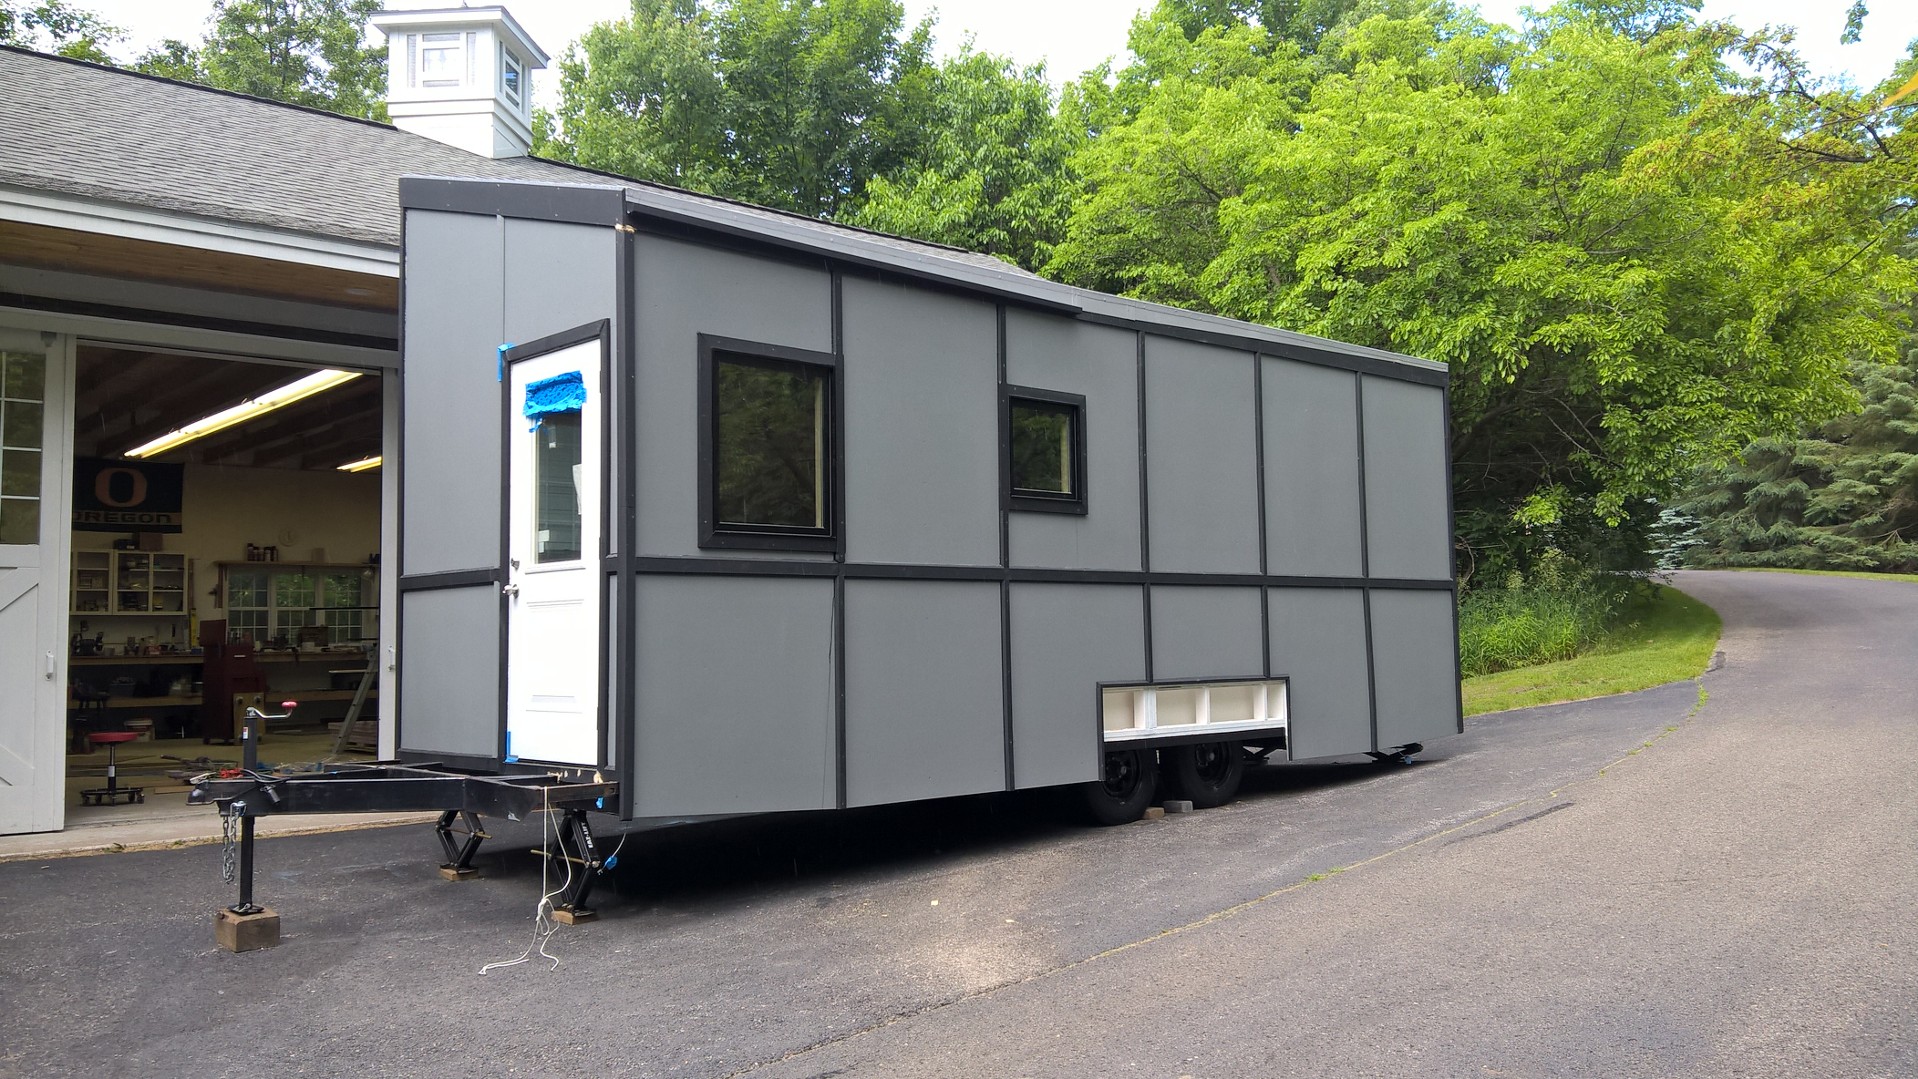
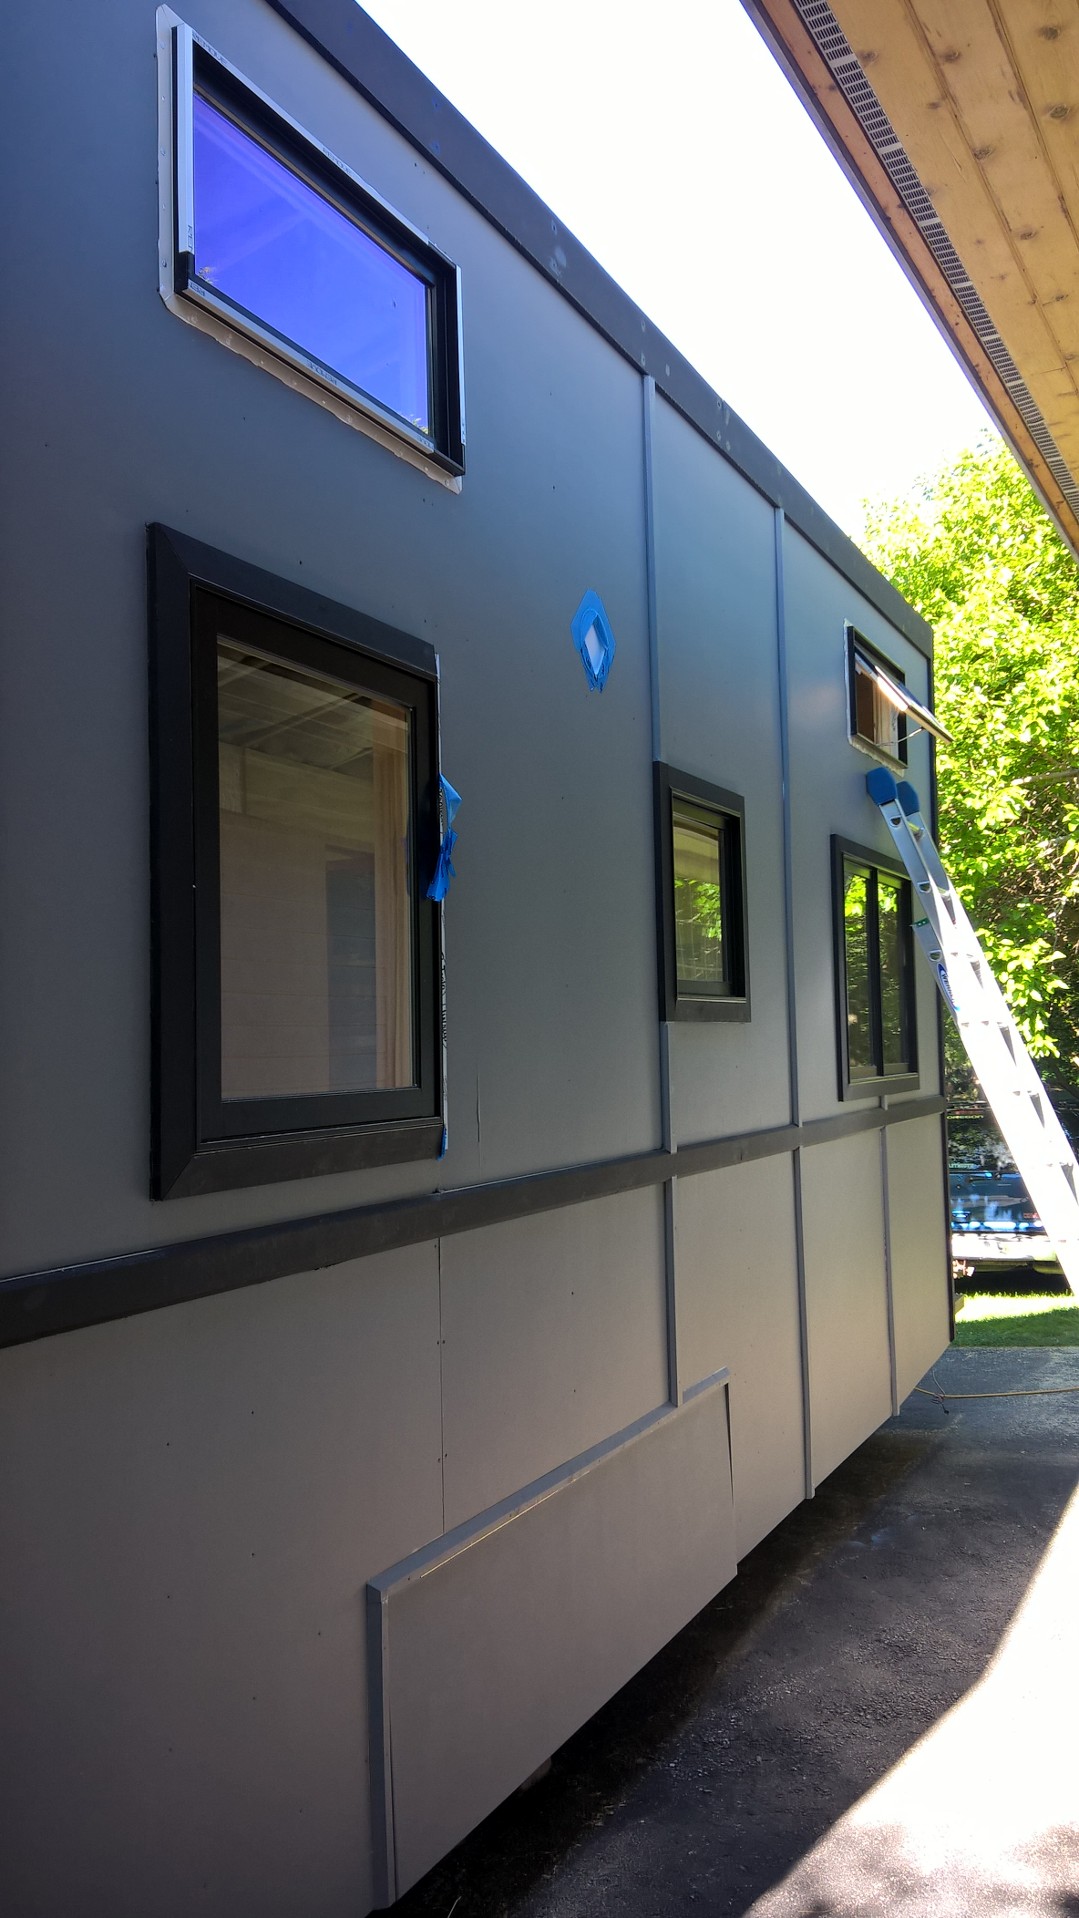
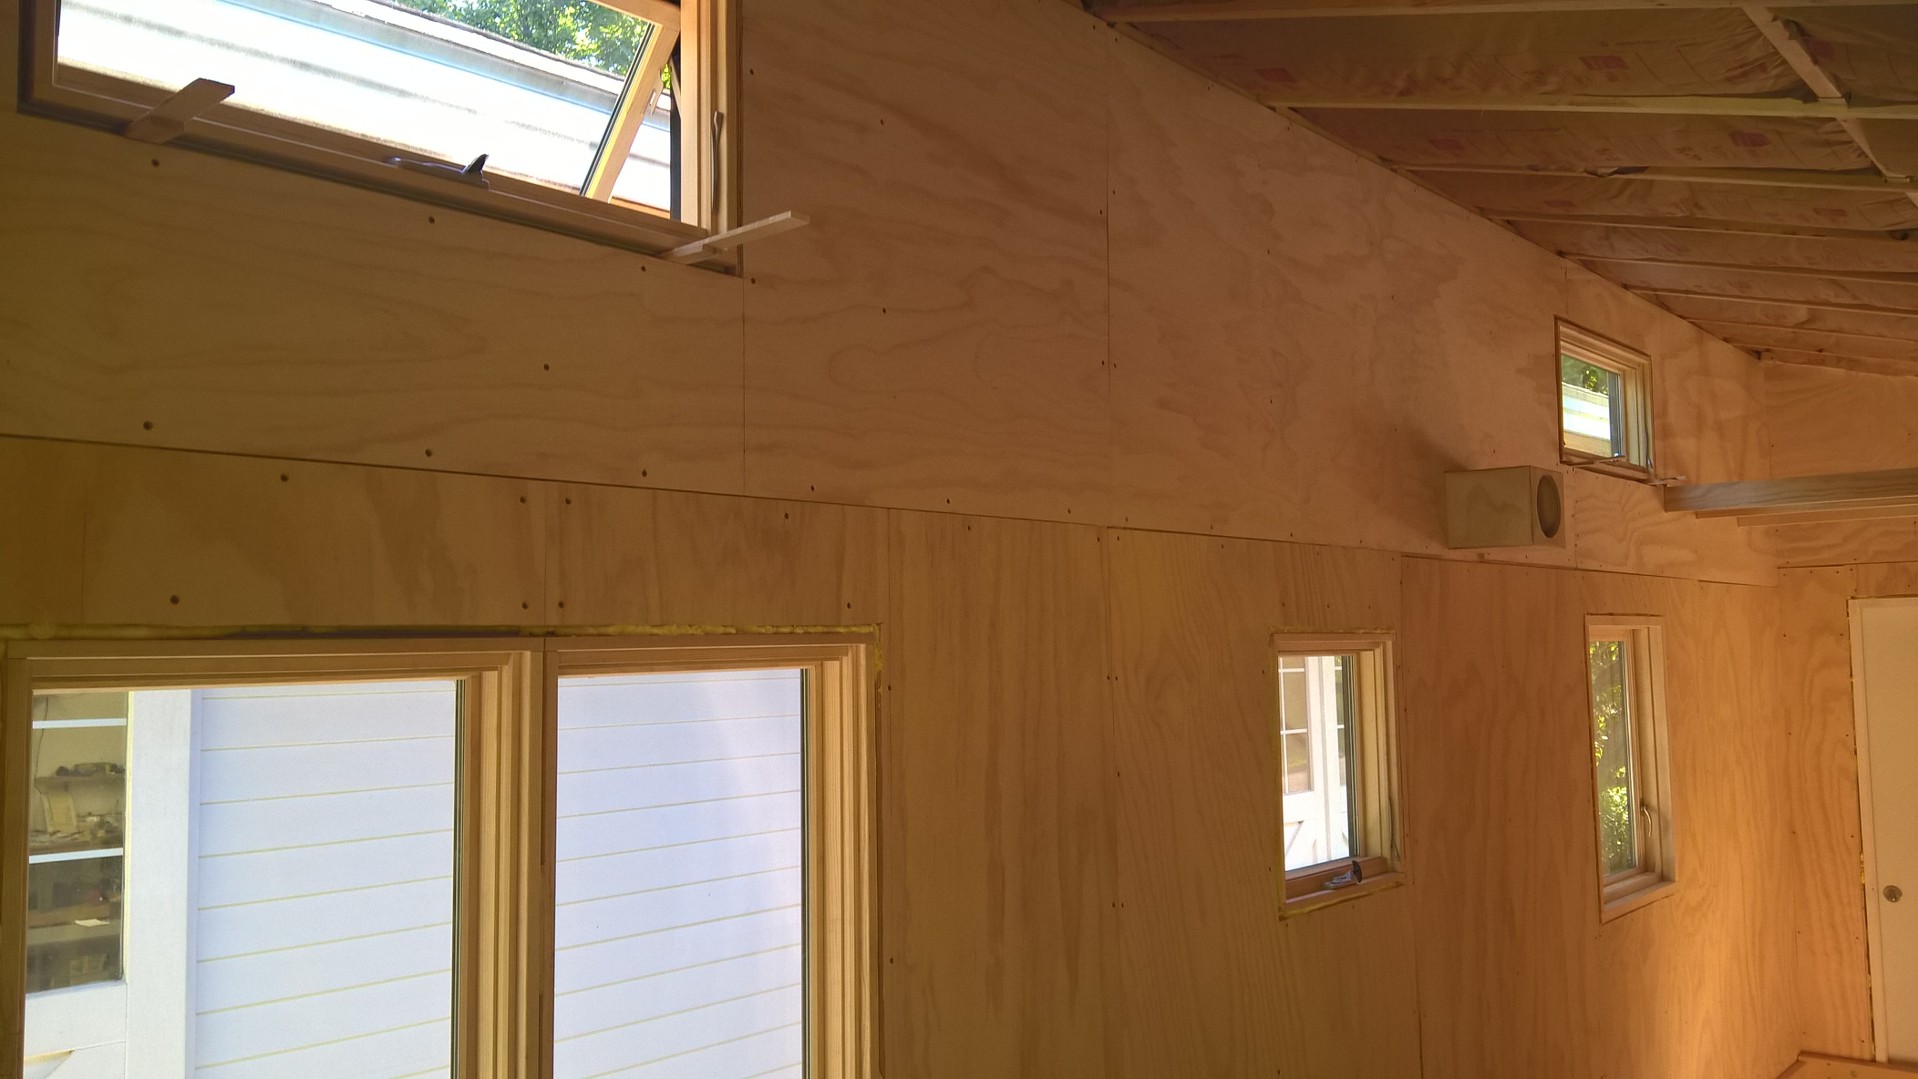
Another favorite part of the house so far is what I call trim trickery. On vertical trim pieces that went by windows I took the edges off up until the window trim should start and at the same time as stopping the chamfered edge I changed the paint color to give the illusion of the vertical trim and window trim being separate. This allowed the windows on the high side of the house to stand out and really POP. On the low side I painted the vertical trim black in order to add some interest to the 'utility' side of the house, as well as give the two sides subtly different looks. The next step was to caulk the WHOLE house, every edge of every trim piece, around the entire house had to be waterproofed. I took breaks from this monotonous task to insulate the ceiling with R-19 kraft faced fiberglass insulation that I will cover later with rigid foam insulation. I also did the final sheathing on the upper interior walls and ends of the house, finishing off the 'shell' and letting me move on to the interior.